Simple DIY Brass Necklace
Argent and gold have e'er been major players in the jewelry world, merely in that location are new finishes making their mode onto the scene. Finishes like copper, gunmetal, and brass have become quite popular. These gorgeous finishes are very present in the jewelry world and take gained some serious popularity over the years.
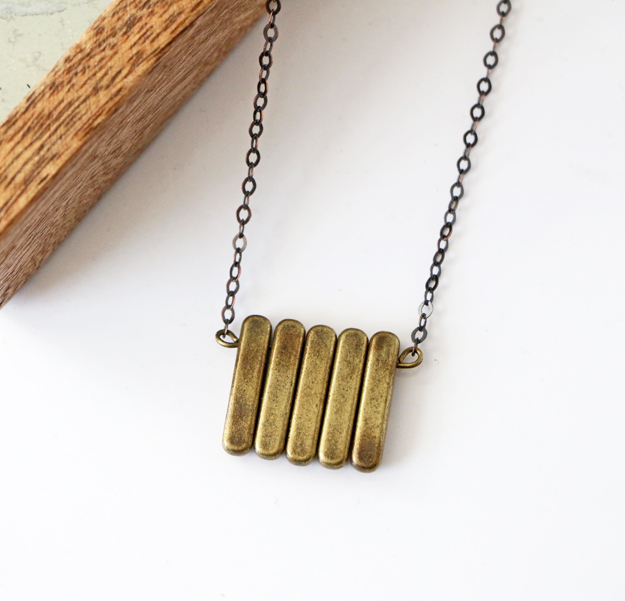
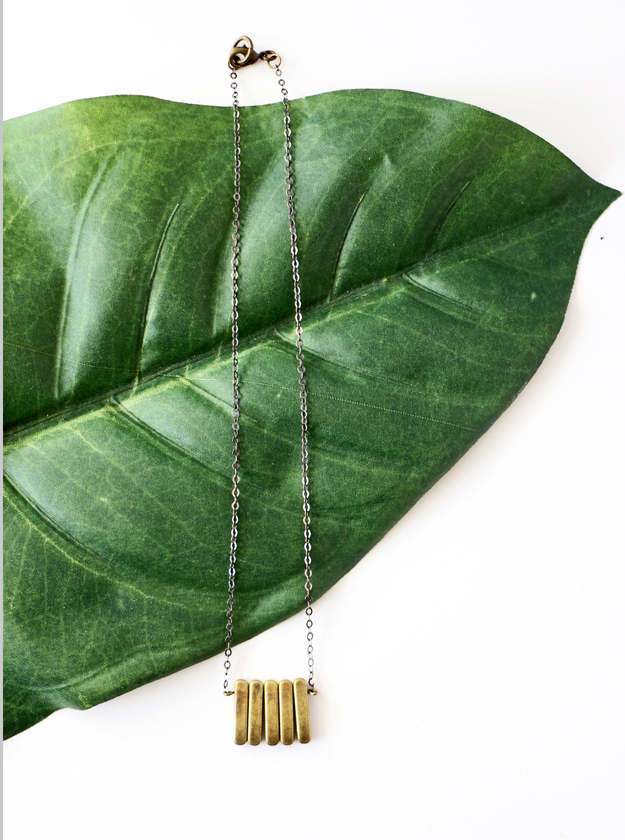
There is nothing amend than making your own jewelry. Having the power to create exactly whatsoever you desire is such an awesome feeling. Jewelry making is really quite simple, as long as you keep your designs elementary. This simple brass necklace is the perfect necklace to incorporate into your Fall wardrobe and is likewise a corking way to embrace the brass finish that is making it's way upwardly the popularity ladder alongside the ever popular silver and gold!
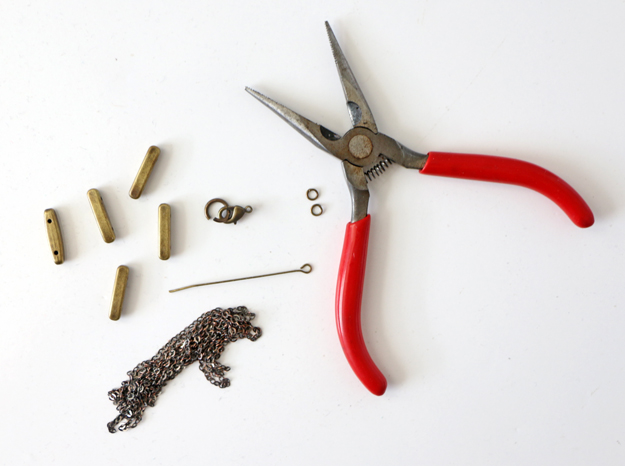
Here'southward what you'll demand:
- Long Brass Chaplet
- 1 Brass Eye Pin
- Needle Nose Pliers
- Wire Cutter
- 2 Jump Rings
- Contumely Chain
- Brass Squeeze
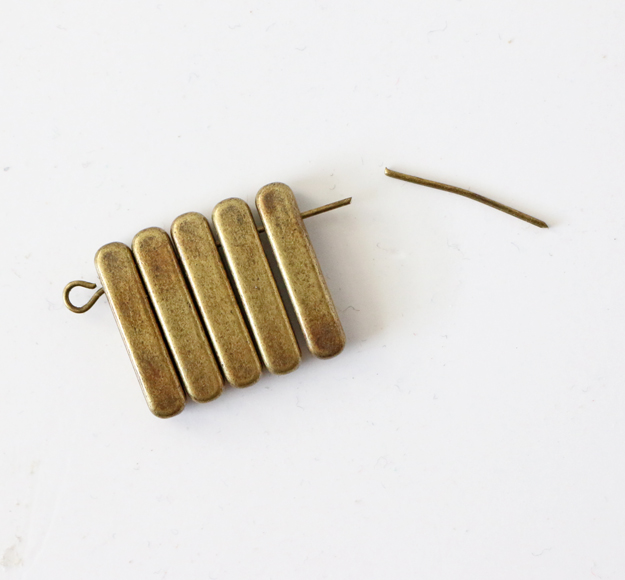
Step 1: Run your eye pivot through all five of your chaplet. If your long beads have 2 holes (similar mine do) yous will run your eye pin but through the elevation hole of your beads.
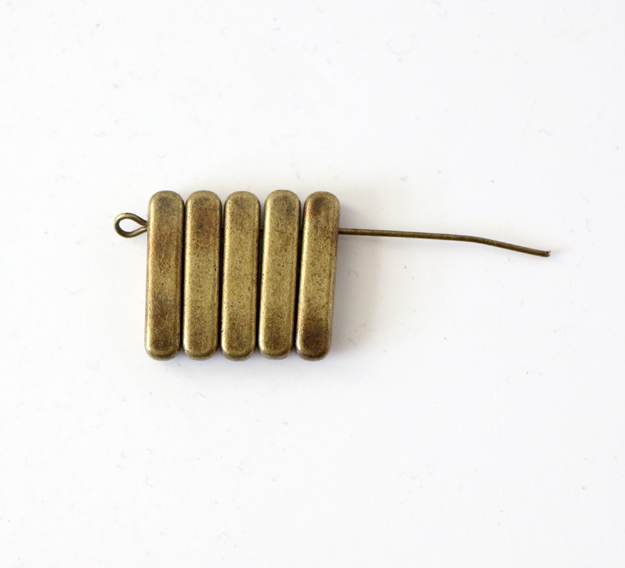
Step 2: Use the inside of your needle nose pliers to trim down the excess wire sticking out from your bead. If the heart of your needle nose pliers does not have a cutter, you will want to grab wire cutters. Leave about 1/iv inch of wire.
Stride 3: To create a loop at the finish of your wire, employ the tip of your needle nose pliers to class your wire into a loop.
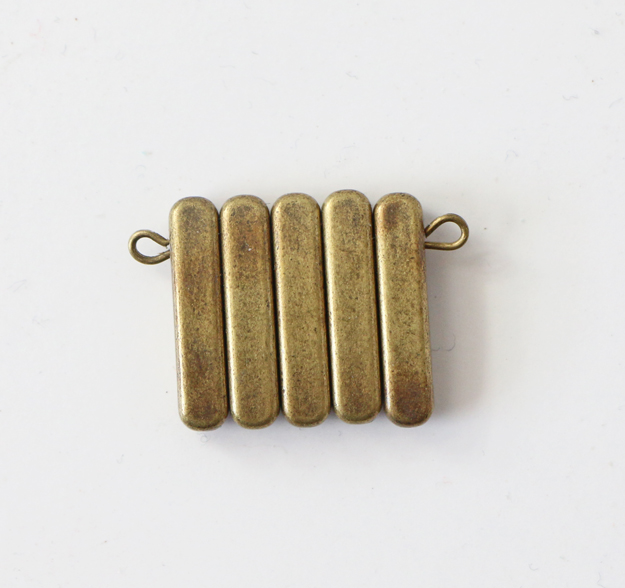
Footstep 4: Grab your needle nose pliers once again and open up each of the loops on both sides of your beads.
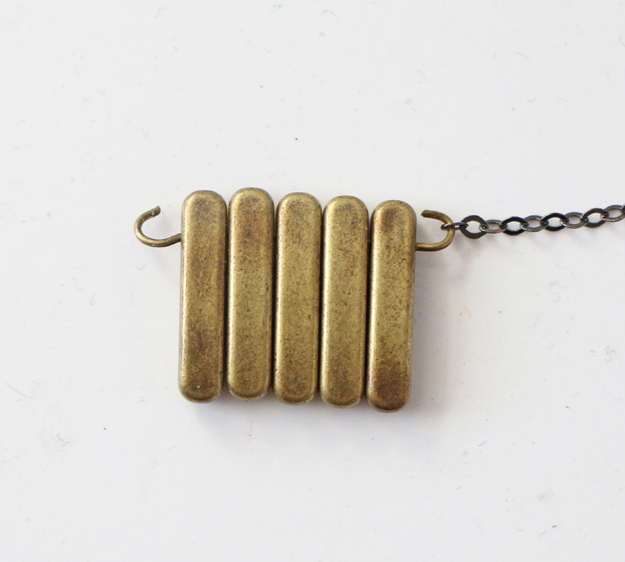
Step 5: Side the end chain link onto one of your open loops. In one case the concatenation is on the loop, use your needle nose pliers to shut the loop of your eye pin.
Pace 6: Wrap your chain around your neck to get the right length of your necklace. In one case you get your desired length, cutting your chain. So, slide the end of your chain link onto your other open eye pivot.

Stride 7: Grab your wire cutters again and snip the top center of your concatenation, creating two pieces.
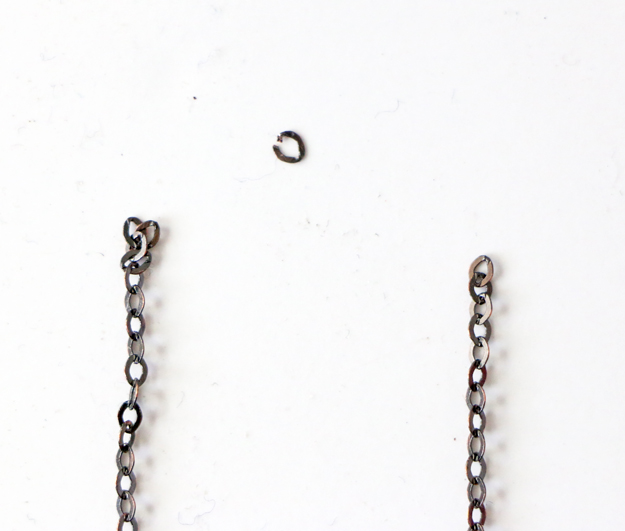
Footstep 8: Open one of your jump rings and slide it through one side of your chain. Then, close your bound ring.
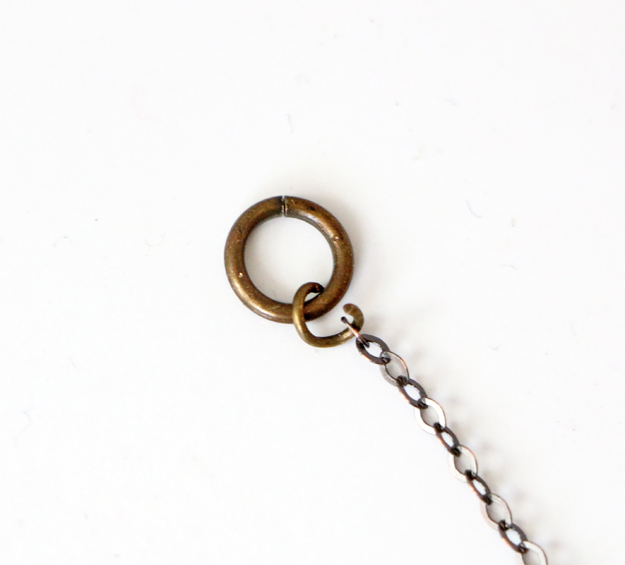
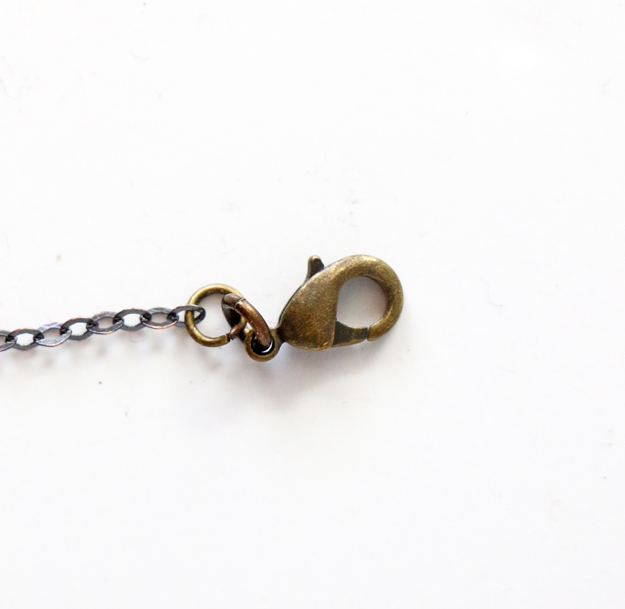
Step ix: Open your other jump ring and slide on your squeeze. Then, shut your spring band.
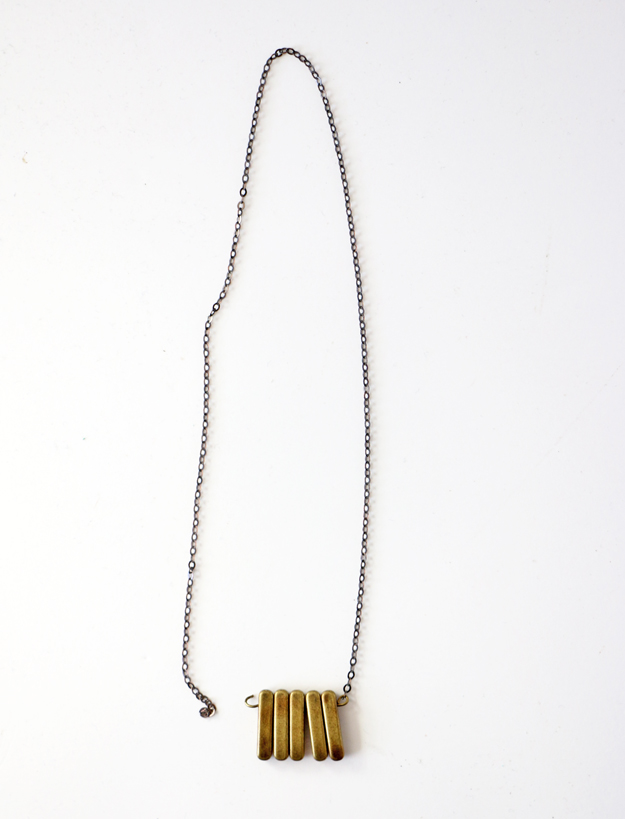
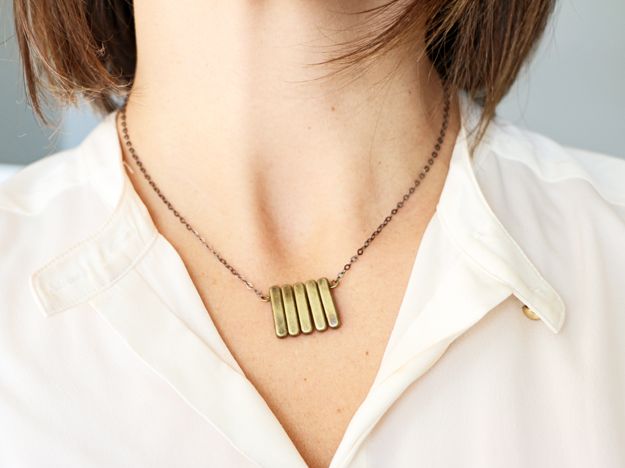
You are left with a gorgeous brass necklace perfect to wear the entire Fall season!
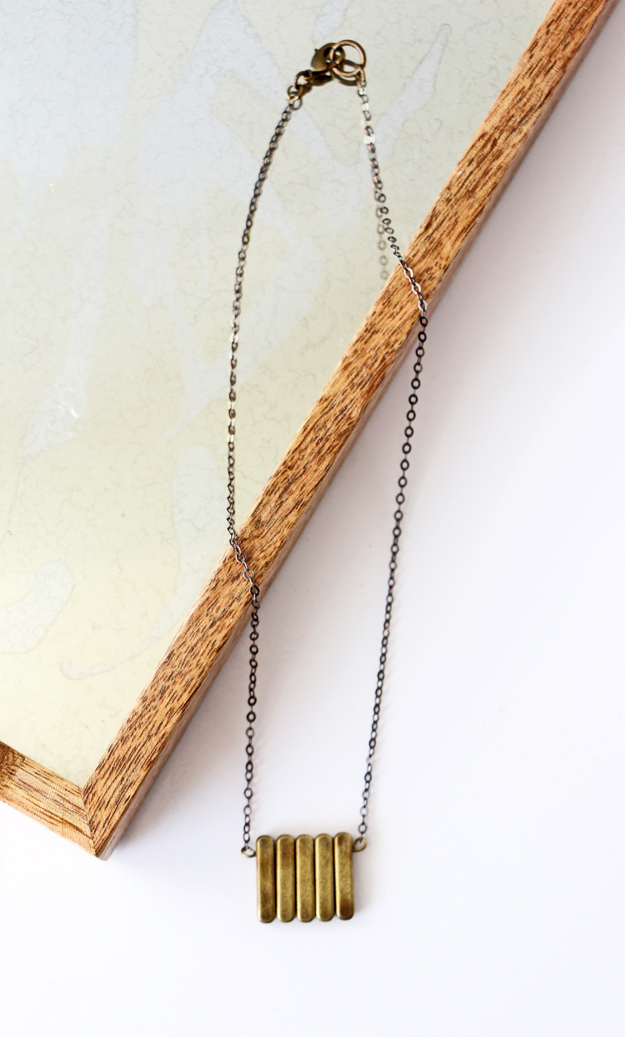
Since brass is a neutral, this simple necklace can be worn everyday day with all of your favorite outfits!
Source: https://www.diys.com/brass-necklace/
0 Response to "Simple DIY Brass Necklace"
Post a Comment